How to Root Your Android Device As an avid Android user, I’ve always been fascinated by the potential of rooting my device. Unlocking the full potential of your Android can be a game-changer, allowing you to customize and optimize your phone like never before. However, I’ve also heard the horror stories of bricked devices and voided warranties. That’s why I’m sharing my own experience of rooting my Android device, breaking down the process into simple, easy-to-follow steps. With this guide, you’ll be able to root your device safely and confidently, unlocking a world of possibilities and taking your Android experience to the next level.
Table of Contents

Preparing for Rooting
Before exploring into the rooting process, it’s important to take some necessary precautions and understand what you’re getting yourself into. Xender Apk
Understanding the Risks and Benefits
Some people may be hesitant to root their Android device due to concerns about voiding their warranty or bricking their phone. However, with the right guidance, rooting can be a safe and rewarding experience. On the one hand, rooting can give you unparalleled control over your device, allowing you to customize and optimize it to your heart’s content. On the other hand, it can also leave your device vulnerable to security risks if not done properly.
Checking If Your Device Can Be Rooted
The first step in preparing for rooting is to check if your device can be rooted in the first place. Not all devices are compatible with rooting, so it’s crucial to do your research beforehand.
Checking if your device can be rooted involves identifying your device’s model, Android version, and kernel version. You can find this information in your device’s settings or by using a third-party app. Once you have this information, you can search online for rooting methods specific to your device. Be cautious when searching for rooting methods, as some may be outdated or malicious. It’s also important to ensure that you’re using a reputable rooting tool or method to avoid bricking your device.
Gathering Essential Tools and Tips
Some of the most crucial steps in rooting your Android device involve gathering the right tools and being aware of certain tips that can make the process smoother and safer. Before we examine the rooting process, let’s take a look at what you’ll need to get started.
You’ll need:
- USB drivers for your device (make sure they’re up-to-date)
- A computer with internet access
- A USB cable to connect your device to the computer
- Rooting software (we’ll discuss this in more detail below)
- A backup of your device’s data (just in case)
After gathering these vital tools, you’ll be ready to move on to the next steps.
Choosing the Right Rooting Software
While there are many rooting software options available, not all of them are created equal. Look for software that is specific to your device model and has a good reputation among users. Some popular options include KingRoot, One Click Root, and CF Auto Root.
Preparing Your Device for Rooting
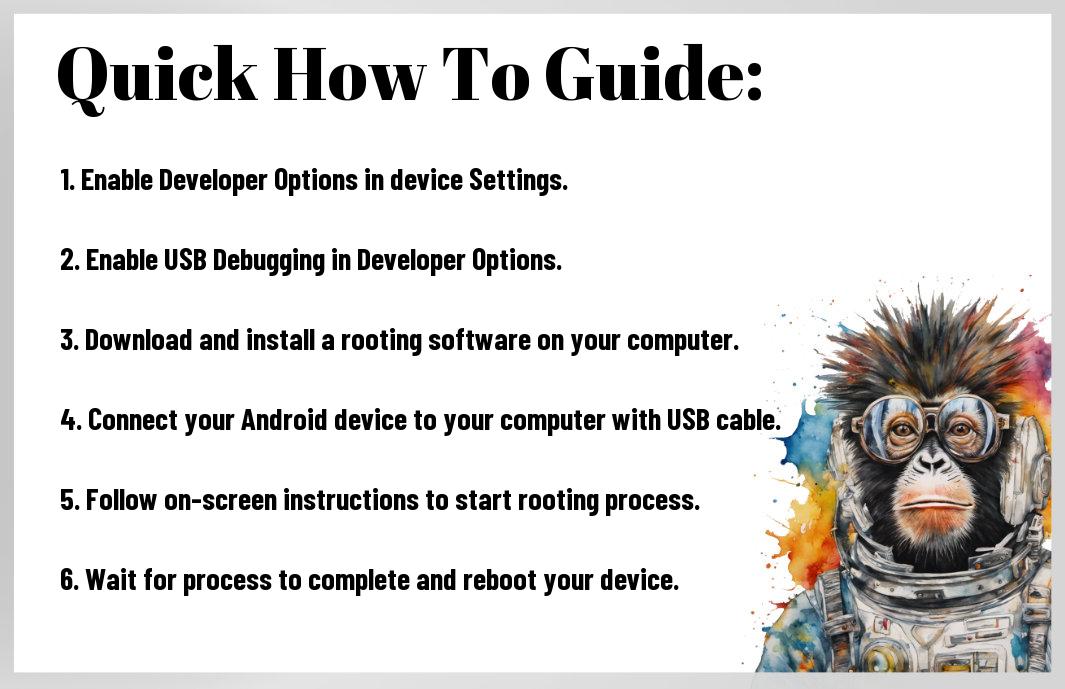
Device security is crucial when it comes to rooting. Make sure you’ve disabled any antivirus software and enabled USB debugging on your device.
Essential to the rooting process is ensuring that your device is in a state where it can be modified. This means enabling OEM unlocking (if available) and bootloader unlocking (if necessary). These steps may vary depending on your device, so be sure to research specific instructions for your model.
The Rooting Process
Despite the intimidating nature of rooting your Android device, the process is relatively straightforward once you understand the steps involved. In this section, I’ll guide you through the rooting process, breaking it down into manageable chunks.
Unlocking Your Device’s Bootloader
Devices from manufacturers like Google, OnePlus, and Motorola typically come with an unlockable bootloader. To unlock your device’s bootloader, you’ll need to visit the manufacturer’s website and follow their instructions. This process will vary depending on your device, so be sure to research the specific steps for your model. Be cautious, as unlocking your bootloader will erase all data on your device.
Installing a Custom Recovery
Now that your bootloader is unlocked, it’s time to install a custom recovery. A custom recovery allows you to flash custom ROMs and gain root access. I recommend using TWRP (Team Win Recovery Project) or CWM (ClockworkMod Recovery) for this purpose.
Installing a custom recovery is a crucial step in the rooting process. It allows you to gain control over your device’s recovery environment, enabling you to flash custom ROMs, kernels, and other modifications. **Make sure to download the correct recovery image for your device model**.
Flashing the Root Package
Your device now has a custom recovery installed, and it’s time to flash the root package. This package contains the necessary files to grant root access to your device. Download the root package specifically designed for your device model and follow the instructions provided by the developer.
To ensure a successful root, make sure to follow the instructions carefully and **backup your data before proceeding**. Flashing the root package will modify your device’s system files, so it’s important to be cautious and patient during this process. **Do not forget, rooting your device may void your warranty**, so proceed with caution.
Troubleshooting and Optimization
For those who have successfully rooted their Android device, congratulations! You’ve unlocked a world of possibilities. However, I know that sometimes things don’t go as smoothly as planned. That’s why I’ve put together this troubleshooting and optimization guide to help you overcome common issues and get the most out of your rooted device.
Common Issues and How to Fix Them
With great power comes great responsibility, and with rooting, comes potential pitfalls. Here are some common issues you might encounter and how to fix them:
- Bootloop: If your device gets stuck in a bootloop, try wiping the cache partition or performing a factory reset.
- Soft-brick: If your device becomes unresponsive, try booting into recovery mode and wiping the data partition.
- Permission issues: If you’re experiencing permission issues, try reinstalling the app or granting the necessary permissions manually.
Thou shalt not panic when faced with these issues, for they can be resolved with patience and persistence.
Tips for Optimizing Your Rooted Device
There’s more to rooting than just gaining superuser access. Here are some tips to help you optimize your rooted device:
- Overclocking: Use apps like SetCPU or No-Frills CPU Control to overclock your processor for improved performance.
- Undervolting: Use apps like Undervolt or Kernel Adiutor to undervolt your processor for improved battery life.
- Custom ROMs: Install custom ROMs like CyanogenMod or Resurrection Remix for improved performance and features.
To take your rooted device to the next level, I recommend experimenting with these optimization techniques. Thou shalt be amazed at the difference they can make!
Be mindful of, rooting your device can be a complex process, and it’s imperative to be cautious when making changes to your system. Always backup your data before making any changes, and be sure to research thoroughly before attempting any modifications. With these tips and a little patience, you’ll be able to unlock the full potential of your Android device.
Conclusion
Now that you’ve reached the end of this guide, I’m confident that you have a clear understanding of how to root your Android device. I’ve walked you through each step, from preparing your device to flashing the rooting file. Recall, rooting is a process that requires patience and caution, but the benefits are well worth it. With a rooted device, you’ll have more control over your Android experience and be able to customize it to your heart’s content. So, go ahead and take the plunge – I’m sure you’ll love the freedom that comes with a rooted Android device.
FAQ
Q: What are the risks involved in rooting my Android device?

A: Rooting your Android device can come with some risks, including voiding your device’s warranty, bricking your device (making it unusable), or exposing your device to security vulnerabilities. Additionally, rooting can also cause issues with certain apps that are designed to work only on non-rooted devices. However, if you follow a reliable and tested rooting guide, the risks can be minimized. It’s vital to weigh the benefits of rooting against the potential risks and take necessary precautions before proceeding.
Q: Do I need to unlock my bootloader before rooting my Android device?
A: In most cases, yes, you will need to unlock your bootloader before rooting your Android device. Unlocking the bootloader allows you to modify the device’s firmware and install custom recoveries, which are vital steps in the rooting process. However, some devices may have different requirements, so it’s crucial to check the specific instructions for your device model before proceeding. Keep in mind that unlocking your bootloader will erase all data on your device, so make sure to back up your important files and data before doing so.
Q: Will rooting my Android device affect its performance or battery life?
A: Rooting your Android device, in itself, should not significantly affect its performance or battery life. However, the modifications you make to your device after rooting can impact its performance. For example, installing a custom kernel or overclocking your device’s processor can improve performance but may also increase battery drain. On the other hand, removing bloatware or optimizing system files can improve performance and extend battery life. It’s vital to be cautious when making modifications and monitor your device’s performance to ensure that you’re not introducing any issues.
Comments (2)
How to Convert Your Images to Different Formats Using Free Online Converters - Blogsays:
June 29, 2024 at 8:25 am[…] How to Root Your Android Device A Step-by-Step Guide […]
Top 5 Video Editing Software For Pc Free | No Watermark - Blog TVSsays:
June 30, 2024 at 3:12 am[…] How to Root Your Android Device A Step-by-Step Guide […]